
If you want an affordable and durable roofing option, consider rolled roofing installation! It’s popular among homeowners for its cost-effectiveness and easy setup.
Whether you’re building a new roof or replacing an old one, rolled roofing offers excellent protection against the elements while saving you time and money.
In this article, we’ll cover the benefits and step-by-step process of DIY installation. Discover how rolled roofing can be a reliable shield for your home!
What is rolled roofing?
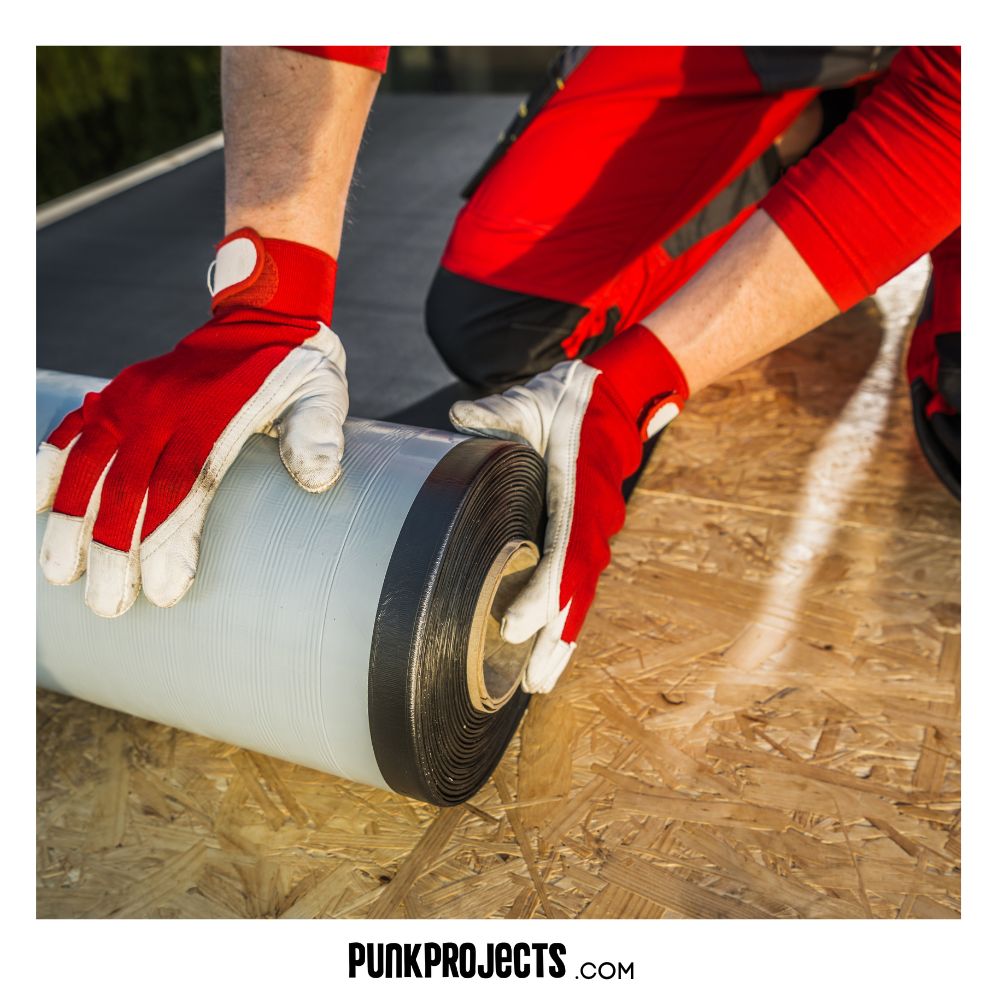
Rolled roofing is a roofing material that comes in rolls. It’s used for low-sloped roofs and is great for residential and commercial buildings. Asphalt and rubber are two materials it can be made from. So, it’s easy to install and offers good protection against the weather.
The biggest plus of rolled roofing is how easy it is to put on. It’s flexible, which makes it simple to roll out and secure. This makes it great for DIY projects or if you’re in a rush.
Rolled roofing is also tough and can handle bad weather like rain, snow, and wind. Plus, it needs minimal maintenance. That means less hassle and cost long-term. Check also: 15 Cheapest Roofing Material.
Pros and Cons of Rolled Roofing
Rolled roofing, also known as mineral-surfaced roofing, is a type of roofing material commonly used for low-slope roofs on residential and commercial buildings.
It is made from the same materials as asphalt shingles but comes in rolls, making it easier and quicker to install. Like any roofing material, rolled roofing has its advantages and disadvantages. Here are some pros and cons:
Pros of Rolled Roofing:
- Cost-effective: Rolled roofing is one of the most affordable roofing options available, making it an attractive choice for budget-conscious homeowners and property owners.
- Easy installation: Rolled roofing is relatively easy to install, especially compared to other roofing materials like shingles or tiles. This means reduced labor costs and quicker installation times.
- Lightweight: Rolled roofing is lightweight compared to other roofing materials, making it suitable for structures that cannot support heavier materials.
- Suitable for low-slope roofs: Rolled roofing is ideal for roofs with low slopes, where traditional shingles might not be as effective.
- Temporary solution: It can serve as a temporary roofing solution for sheds, garages, or other outbuildings where a longer-lasting roof might not be necessary.
Cons of Rolled Roofing:
- Short lifespan: Rolled roofing typically has a shorter lifespan compared to other roofing materials like asphalt shingles or metal roofs. It may last around 5 to 10 years, whereas other materials can last 20 years or more.
- Limited aesthetic options: Rolled roofing is not as aesthetically pleasing as other roofing materials. It often comes in plain black or gray, lacking the variety of colors and styles that shingles or tiles offer.
- Vulnerable to damage: Rolled roofing is more susceptible to damage from heavy winds, hail, and foot traffic due to its lightweight and thin construction.
- Not suitable for steep slopes: Rolled roofing is not recommended for roofs with steep slopes, as it may not provide adequate water runoff and could be more prone to leaks.
- Difficult to repair: When rolled roofing is damaged, it can be challenging to repair effectively. Partial replacement may be necessary, leading to additional costs.
- Limited warranty: Manufacturers often provide limited warranties for rolled roofing due to its shorter lifespan and vulnerability to damage.
In conclusion, rolled roofing can be a cost-effective and easy-to-install option for low-slope roofs, temporary structures, or situations where aesthetics are not a primary concern.
However, its shorter lifespan, limited color options, and susceptibility to damage may make it less desirable for long-term roofing solutions or buildings with steeper slopes. As with any roofing material, proper installation and maintenance are essential to maximizing its performance and lifespan.
Tools and materials needed for installation
To install rolled roofing right, you need the right tools and materials. Here’s a list to get you going:
- Roofing Nails – bigger heads, shorter shanks for better holding power.
- Utility Knife – new blade for clean cuts.
- Measuring Tape – to get accurate measurements.
- Roofing Adhesive – to bond overlapping edges.
- Roofing Cement – to patch and secure.
Plus, don’t forget safety gear like gloves and eye protection. Now grab your supplies and start this exciting project! Improve your home’s protection and aesthetics today. Check also: 8 Alternatives to Wood Decks.
Rolled Roofing Installation Tips
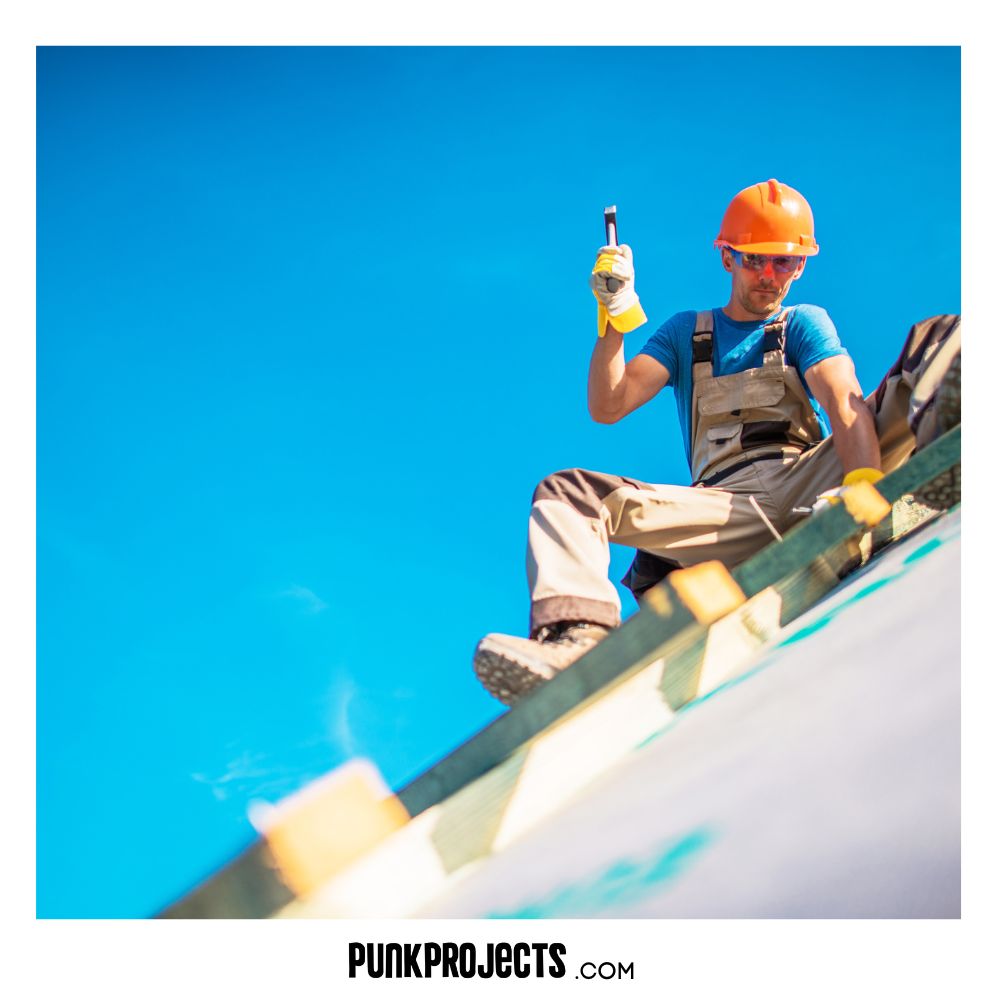
To begin with, it is important to prepare the surface properly before installing rolled roofing. This involves removing any existing shingles or debris and ensuring that the roof deck is clean and dry.
1. Preparing the roof for installation
To prepare the roof for installation of rolled roofing, begin by cleaning the roof surface and repairing any damage. Cleaning ensures a proper adhesion, while repairs prevent future issues. These sub-sections in the “Preparing the Roof for Installation” section are the solution to achieving a smooth and problem-free installation of rolled roofing.
2. Cleaning the roof surface
- Start by sweeping away leaves, twigs, and branches with a broom or leaf blower.
- Next, check for any moss or algae growth. Use a biodegradable cleaner to get rid of any growth.
- After, use a soft-bristle brush to scrub the affected areas gently. Make sure to avoid abrasive materials.
- Then, rinse off the roof surface with water using a garden hose or pressure washer on low settings. Make sure all traces of cleaner and dirt are gone.
Remember to prioritize safety while cleaning. Wear gloves and non-slip footwear to prevent accidents. Consider hiring professionals if you’re uncomfortable with heights or dealing with roofing materials. Check also: Bathroom Exhaust Fan Venting Options.
3. Measuring and cutting the rolled roofing material
- Measure your roof’s length and width using a tape measure. Include any overhangs or slopes in your measurements.
- Calculate how much rolled roofing material you will need. Factor in some extra for mistakes or overlap.
- Clean the roof surface and remove anything sticking out.
- Cut the material with a utility knife or roofing shears. Make sure your cuts are straight and smooth.
- Place and secure the rolls from bottom to top, overlapping each strip slightly.
- Use nails or roofing adhesive.
Rolled roofing is a cost-effective option. It may not offer long-lasting protection, but with proper installation and maintenance, it can provide adequate durability and weather resistance.
4. Applying the rolled roofing material
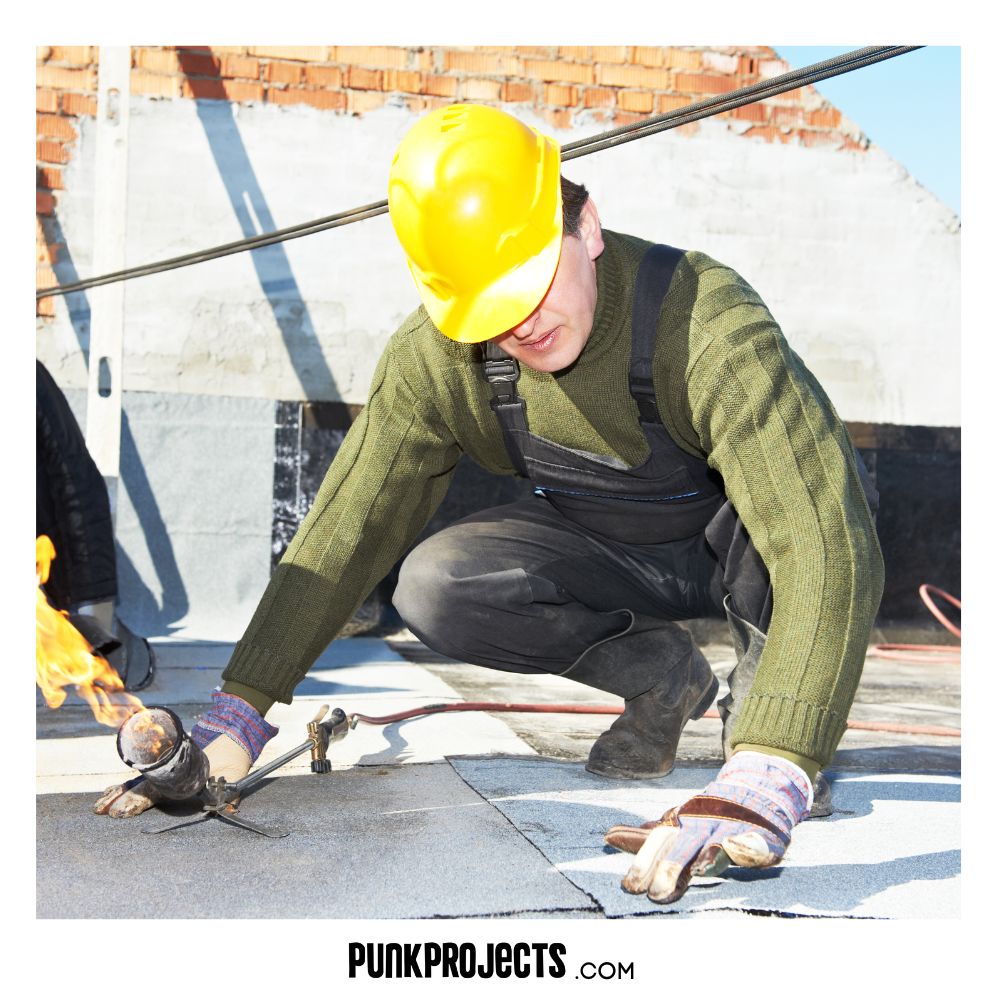
To efficiently apply the rolled roofing material in “Applying the rolled roofing material,” solve the task by following these sub-sections: Start at one corner of the roof, Align the first row of rolled roofing, and Secure the rolled roofing with nails or adhesive. Check also: How to Fix Hole in Wood Door.
5. Start at one corner of the roof
Starting the installation of rolled roofing material in one corner is key for a successful application. This allows for proper alignment, avoiding gaps and unevenness. Here are the four steps to start the process:
- Clean the surface. Remove loose shingles and nails. Sweep away dirt and dust. This ensures proper adhesion and durability.
- Apply adhesive. Spread it evenly on the corner edge.
- Position and unroll the roofing material. Keep it aligned with the corner edge. Smooth out any wrinkles or bubbles.
- Secure and trim excess material. Attach nails or staples along both edges. Trim off extra material with a utility knife.
Remember to check for overlap between each roll of roofing material to prevent leaks. Overlap each roll by at least 2 inches. Work in calm weather conditions for optimal results.
6. Align the first row of rolled roofing
- Measure and mark the roof edge where the first row will go.
- Unroll the roofing material, overlapping the marked edge by 2-4 inches.
- Securely fasten the first row with nails or staples.
- For better alignment:
- Clear debris from the roof’s surface.
- Use a chalk line or straight edge tool for a straight guideline.
- Double-check each roll of roofing is aligned with the previous one.
By following these suggestions, you can achieve a proper alignment of your first row of rolled roofing. This alignment sets the foundation for subsequent rows and ensures a secure and long-lasting roof installation.
7. Secure the rolled roofing with nails or adhesive
Ensure your rolled roofing stays in place by using either nails or adhesive. Here’s a step-by-step guide:
- Prep the surface – make it clean and debris-free.
- Unroll the roofing material – start from one end and align properly until you reach the other end.
- Secure with nails or adhesive.
- Nails: Position them along edges and corners. Use a hammer to drive them in, making sure they go through the roofing material and the surface.
- Adhesive: Apply it to the underside of the roofing material before placing it on the prepared surface. Press firmly for proper adhesion.
- Check for loose areas or gaps.
Remember, regular maintenance and inspections are essential to prolong the lifespan of rolled roofing.
8. Overlapping and sealing the edges
It is essential to overlap and seal the edges for a water-tight seal.
- Begin by aligning the first roll of roofing with the edge of the roof, with a slight overhang. This allows water to drain away from the roof.
- Put the second piece of roofing alongside the first, overlapping the edges by 2 inches. This prevents leaks.
- Secure them in place with nails or adhesive for rolled roofing. Place these fasteners along the overlapping edge and outer edges.
It is vital to pay attention to detail when installing rolled roofing. Gaps or openings can lead to water damage. Therefore, use a sealant along all seams and joints. This enhances the durability and longevity of your installation.
9. Installing the second row and subsequent rows
To install rolled roofing for the 2nd row and beyond, precision is key! Follow these 3 steps:
- Unroll the next section of roofing material alongside the 1st row. Make sure to overlap by at least 2 inches. This overlap is vital for waterproofing.
- Secure with galvanized roofing nails, placed 6 inches apart along the edges and every foot across the rest. Hammer in firmly, avoiding damage.
- Repeat, keeping a 2 inch overlap between each row. This ensures a tight seal & enhances waterproofing.
Be mindful of air pockets, seams & joints when installing multiple rows. Check for proper alignment & secure any loose areas.
Rolled roofing has been used for years, providing long-term protection for structures. Its simplicity & efficiency make it a go-to for professionals.
10. Finishing touches and final steps
Sometimes, the last steps of a rolled roofing job are very important. They make sure the roof is working and looks good. Give these details attention – they really count in the long run.
- Clean and prep the surface: Before adding any finishing touches, clean and prepare the surface. Clear any junk or dirt and make sure it’s dry and smooth.
- Apply a primer: A primer helps make the roof material stick better. Use a roller or brush to put on the primer according to instructions.
- Install edge metal: Edge metal, like drip edge and fascia, go along the edges of your roof. This gives it an orderly appearance and helps guard against water damage.
- Secure seams and overlaps: Nail or screw together any places where two pieces of rolled roofing meet or overlap. This stops water from coming in and causing leaks.
- Seal around protrusions: Seal any vents, pipes or other protrusions on your roof with an appropriate sealant or flashing material.
- Inspect and tidy up: Check your work and make sure everything is okay. Clear away any materials or debris from the installation.
These steps are essential for a roof that can endure any kind of weather. Here are some extra ideas for you to consider:
- Put a reflective coating over the roof material for extra protection. This helps keep the heat out and make the roof more energy efficient.
- Regular maintenance is necessary to keep rolled roofing in good shape. Look at it often and take care of any problems before they get worse.
By doing these things, you can keep your rolled roofing working well and looking nice. Don’t forget to finish it off – it’s key to a successful roofing job.
Maintenance and Care Tips for Rolled Roofing

Caring for rolled roofing is key for its long-lasting performance. Here are some tips to help:
- Inspections: Have routine checks to spot any cracks or loose seams. Address any issues before they get worse.
- Clean the Surface: Get rid of debris, leaves and other material that can build up. This stops moisture and damage.
- Correct Drainage: Make sure gutters and downspouts are clear and working. This avoids water pooling which leads to leaks.
- Fix Damage: If you see defects, act fast to repair them. Quick fixes stop more damage and make the roof last longer.
Remember to be proactive with maintenance. This increases durability and stops pricey repairs or replacements. For extra care, here are more ideas:
- Trim Branches: Branches can scratch and harm rolled roofing material. Trim them away.
- Coatings: Try a reflective coating to reduce heat absorption and protect from UV damage.
- Get Help: Hire experts who know about rolled roofing systems. They can spot problems early.
By adhering to these tips, you’ll take good care of your rolled roofing system. This will make it last longer and keep your property safe from water damage.
Can I install rolled roofing myself?
Yes, rolled roofing can be installed as a DIY project. However, it requires basic roofing skills and knowledge. If you’re not confident in your abilities, it’s best to hire a professional for the installation.
How long does rolled roofing last?
The lifespan of rolled roofing varies depending on factors like climate, maintenance, and quality of the material. On average, it can last anywhere from 5 to 20 years.
Do I need to use an underlayment with rolled roofing?
Using an underlayment is not always necessary with rolled roofing. However, it is recommended to use one for added protection against moisture and to improve the overall performance of the roofing system.
Can rolled roofing be installed in cold weather?
It is possible to install rolled roofing in cold weather, but it may become more challenging. The adhesive on the back of the rolls may not bond properly, so it’s best to consult with a professional or follow the manufacturer’s recommendations.
I am a multi-talented designer and contractor with over 10 years of experience in the field. I have a passion for creating beautiful, innovative spaces that reflect my clients’ needs and styles. My skills include architectural design, interior design, space planning, project management and construction supervision.
Related Post
 7 Alternatives for Plywood (Lightweight & Strong)
 Sherwin Williams Cashmere vs Emerald (Pros & Cons)
 How Long Can You Leave Primer Unpainted (Guide)
 Types of Clamps for Hoses (Applications & How To Remove)
 Home Remodeling 101: Transforming Your Space Into Your Dream Home
 The Benefits of Using Aluminum Material for Your Home (Strength and Style)